Platform
Solutions
Customers
Pricing
Resources
Try for Free
Sign In
Search all blogs...
Filter by category
FEATURED
Chatbot /
8 Min read
Arabic Chatbot: The Dialect Gap Most Platforms Won't Tell You About
7 MIN READ
AI Concierge: The Gap Between Answering and Actually Guiding
AI Agent /
9 MIN READ
How to Launch a Chatbot Reseller Business - Fully Explained
White Label /
12 MIN READ
Japanese Chatbot: What Most Platforms Get Wrong About Japanese
Best AI Receptionists in 2026 (And the 5 Things Most Vendors Skip)
AI Agents /
15 MIN READ
Chatbot Conversation Flow: How to Design Bots That Actually Guide Users
13 MIN READ
Omnichannel Chatbot: One Conversation Across Every Channel
7 Decagon Alternatives, Matched to Why You’re Looking to Switch
Customer Support /
14 MIN READ
AI Voice Agents and What Nobody Tells You Before You Buy One
The Restaurant Chatbot Guide That Does Not Tell You to Automate Everything
11 MIN READ
Knowledge Base Chatbot: How to Build One That Gives the Right Answers
10 MIN READ
9 Conversational AI Platforms I'd Recommend
18 MIN READ
How Does Multilingual Support Impact Customer Retention and Revenue?
17 MIN READ
Chatbot Automation: What to Automate First
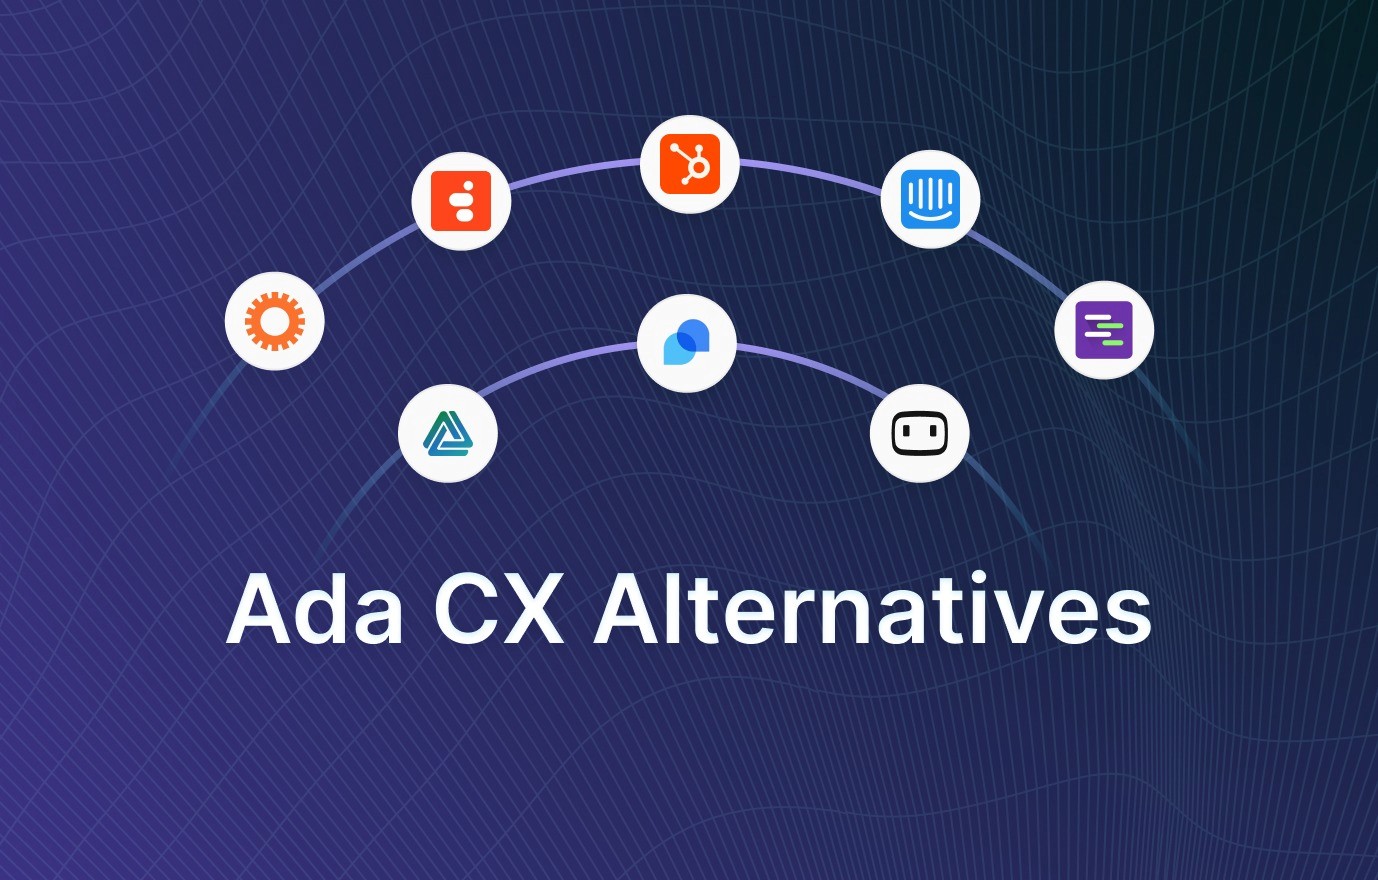
Best Ada CX Alternatives in 2026
Best No-Code AI Tools for What You're Building
10 Best Chat Widgets for Websites 2026
23 MIN READ
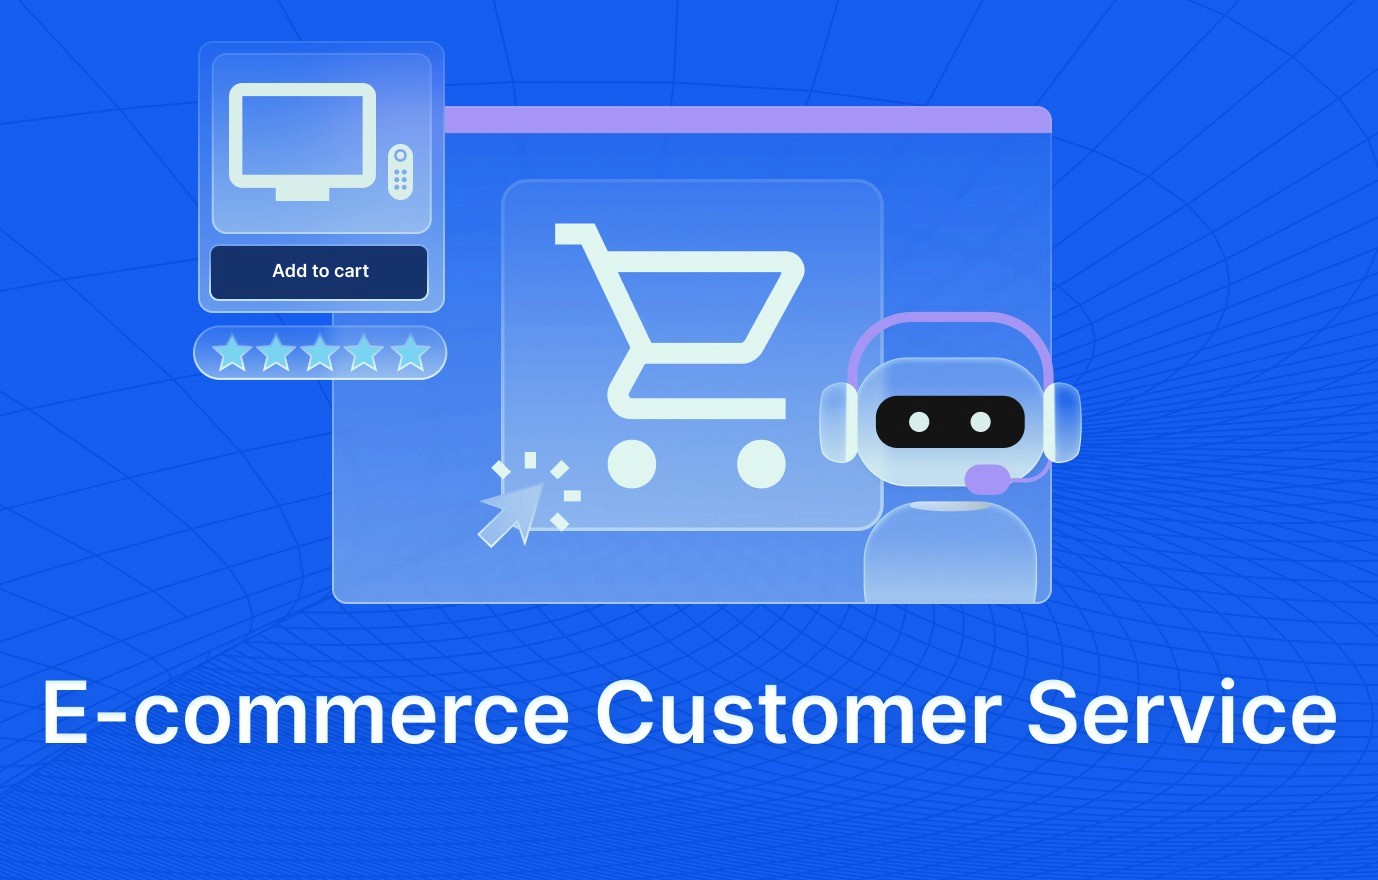
Ecommerce Customer Service: Build & Automate
60+ AI Agent Statistics for Businesses 2026
9 Best Zendesk Alternatives in 2026
Customer Service /
Insurance Chatbots: Use Cases & What Works
8 MIN READ
Best Tidio Alternatives for Customer Support 2026
AI Agent Architecture: Components & Design Guide
Intercom vs Freshdesk: Which One Should You Pick
Best AI Agent Development Services
7 Best Help Scout Alternatives in 2026
21 MIN READ
Help Scout vs Intercom: Which to Pick in 2026?
Chatbot Design: Decisions That Make or Break It
White Label SaaS: What It Is & How to Profit
Build the Best Spanish Chatbot
6 MIN READ
8 Best Chatbot Development Companies
Best WordPress Chatbot Plugins 2026
Best HR Chatbots 2026: Recruiting & Support
15 Chatbot Mistakes That Are Costing You Leads
37+ Chatbot Statistics to Know in 2026
9 Ready-to-Use Chatbot Templates
10 Best Botpress Alternatives in 2026
29 MIN READ
6 Best ManyChat Alternatives in 2026
16 MIN READ
Top Intercom Alternatives That Are Worth Your Time
How to Create a Chatbot: Step-by-Step (2026)
AI Agents for Websites: What They Are
Instagram Chatbot: Benefits, Setup & Tools
AI Agents for Customer Service: Deployment Guide
Chatbot Personality: Why It Sounds Robotic & Fixes
12 Best Customer Support Tools in 2026
CUSTOMER SUPPORT /
11 Best White Label AI Voice Agent Platforms
SMS Chatbots: Why Use Them & How to Build One
How to Reduce Customer Service Costs
Chatbot Testing: Process, Tools & Checklist
French AI Chatbot Platform for French Users
12 Chatbot KPIs Every Team Should Track
Smart Chatbot Scripts Examples & How to Write Them
Best Chatbot Development Frameworks 2026
ERP AI Chatbot: Use Cases, Types & How to Build
20 Chatbot Ideas for Every Business Use Case
Create No-Code WhatsApp Chatbot: Easy Builder Guide
SaaS Customer Support Guide for Scaling Teams
FAQ Chatbot: Use Cases, Examples & How to Build
7 Best AI Agent Builders (Tried & Tested)
LLM Chatbots Explained for Outcome-Focused Teams
Chatbot vs Live Chat: Differences & Which to Use
35 Best Chatbot Use Cases For Different Industries
24 MIN READ
AI Agents in 2026: A Complete Guide for Businesses
8 Best Chatbot Builders for Businesses
8 Best Voiceflow Alternatives for Practical Use
SAAS /
16 Best Agentic AI Companies of 2026
32 MIN READ
10 Best Live Chat Software for Customer Support
Live Chat /
22 MIN READ
10 Best AI Agents for Ecommerce
18 Must-Have Chatbot Features in 2026
Agentic AI vs Generative AI: Key Differences
6 Best AI Agent Frameworks in 2026
AI AGENT /
Digital Customer Experience: Strategy & Trends
CUSTOMER EXPERIENCE /
Omnichannel Customer Service: Benefits & Strategy
13 Best AI Sales Tools in 2026
SALES /
24 Real-World AI Agent Examples (2026)
Multilingual Chatbot: Benefits & How to Build
CHATBOT /
WhatsApp Business API: The Complete Guide for 2026
10 Healthcare Chatbot Use Cases
AI Agent Use Cases: 9 That Work in the Real World
11 Best Customer Success Tools in 2026
The Ultimate Guide to Chatbot Analytics
AI Sales Agent: Guide to Automated Selling
10 Benefits of Chatbots for Business Growth
Chatbot Pricing in 2026: What Does It Cost?
DeepSeek vs ChatGPT: Which is Better?
AI Agent vs Chatbot: Key Differences
How to Build AI Agents: Beginner's Guide
AI Chatbots 2026: Trends & Best Practices
8 Best ChatGPT Alternatives in 2026
5 MIN READ
Banking Chatbots: What Works & What Doesn't
20 MIN READ
Conversational Marketing – A Comprehensive Guide
Why Your Business Needs Knowledge Base Software Now
SaaS /
Understanding GPT Builder: How Does It Work?
9 Best OpenAI Alternatives in 2026
28 MIN READ
Top 8 Chatbot Solution Companies in 2026 (Ranked)
Introducing AI Studio: Build Smarter Bots
Product Updates /
3 MIN READ
Product Update - June 2023
2 MIN READ
Slack vs Microsoft Teams: Which to Choose?
11 Best Slack Apps & Integrations in 2026 (Tested)
10 Best White Label Digital Products 2026
White Label Partnerships: Types & Best Practices
Drift Review 2026: Pros, Cons & Alternatives
8 Best Calendly Alternatives in 2026 (Free & Paid)
Top 12 Google Calendar Integrations for SaaS
Top 11 Tools to Increase Sales Productivity
Product Updates - January 2023
33 Best SaaS Tools for Business in 2026
Live Chat for Slack: Simpler & Faster
15 Best Lead Generation Automation Tools 2026
Lead Generation /
7 Marketing Automation Strategies in 2026
Marketing /
Product Updates - December 2022
How to Automate Customer Feedback Surveys
Customer Experience /
Product Updates - November 2021
4 MIN READ
Product Update - November 2022
WotNot in 2022: A Year in Review
10 Best Chatbot Software in 2026
Chatbot Security: 9 Must-Follow Practices
Product Update - October 2022
10 Best AI Sales Chatbots to Drive Revenue in 2026
9 Things to Look For in a Lead Generation Chatbot
41 White Label Reseller Programs Worth It
10 Customer Service Chatbot Examples (2026)
A Complete Guide to White Label SMS Marketing
Top 15 White Label Marketing Tools 2026
Product Updates – September 2022
Top 8 Reasons to Start a Bot Agency in 2026
Top 10 White Label Live Chat Software 2026
10 Chatbot Benefits for Manufacturing Industry
11 B2B Lead Generation Strategies 2026
9 Insurance Chatbot Use Cases That Drive ROI
B2B Lead Generation: A Comprehensive Guide
Product Updates - August 2022
8 Ways to Leverage WhatsApp for Customer Service
Product Updates - July 2022
7 Benefits of Custom Chatbots for Business
Chatbot Marketing 2026: Strategies & Examples
10 Best Enterprise Chatbot Platforms 2026
Introducing Outbound Bots by WotNot
8 Essential Chatbot Scripts for eCommerce
How to Pick the Best Customer Service Tools
What we did in 2021 - Let’s rewind!
Top 10 Digital Marketing Trends of 2022
Say hello to Analytics Dashboard 2.0
Automated Customer Service: A Complete Guide
11 Top MarTech Stack Tools to Use in 2026
10 SaaS Growth Hacking Strategies for 2026
Meet WotNot’s New and Improved Live Chat Tool!
Top 5 Examples of Conversational User Interface
WotNot gets a New Backend Architecture
WotNot Partners with Dialogflow
What’s new with WotNot- Product updates April 2021
Conversational Commerce: The Next Big Thing
Launch 2020: What we have in store for ‘YOU’?
Product Recommendation Chatbots for eCommerce
Hospitality Chatbots: Boost CX & Revenue
Real Estate Chatbots 2026: Use Cases & Benefits
10 Travel bot Use Cases & Examples for 2026